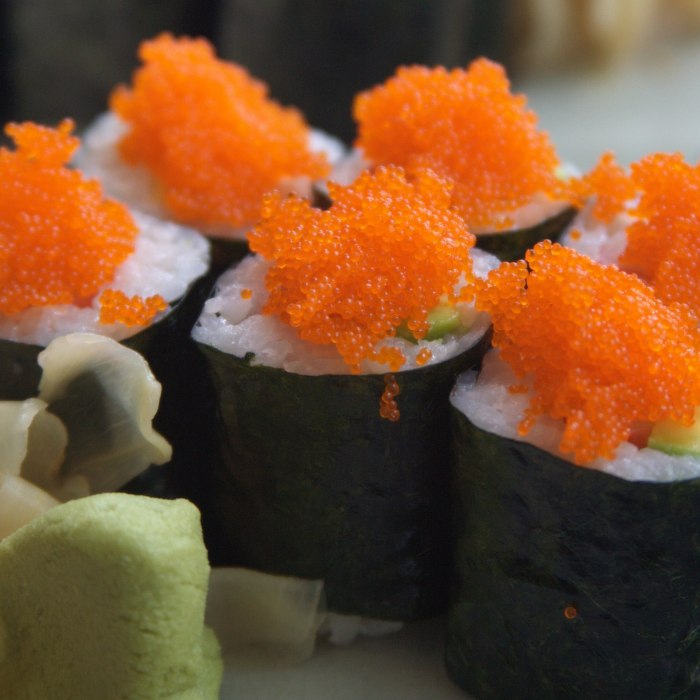
Japanese · Seafood
Sushi
About this recipe
Japanese home cooking centres on dashi — the kombu-and-katsuobushi broth that underwrites soups, simmered dishes, and seasoning — alongside a respect for ingredient quality that means less manipulation, not more. Every dish has a few elements, each doing one job well.
As a seafood dish, Sushi demands timing precision: the difference between perfect and overcooked is often less than 90 seconds, and the result of overshooting is a textural penalty there's no fixing.
Use the scaler above to set the number of servings you actually want to cook — quantities resize with culinary fractions, units promote sensibly (three teaspoons become a tablespoon), and the result reads like the recipe was written for your table.
Recipe data is sourced from TheMealDB's open community database; ScaleRecipe handles the curation, the scaling math, the editorial commentary, and the conversion utilities woven into each page.
Translate this recipe
Reading in English
Listen to this recipe
No matching voice on this device
Method
- STEP 1
- TO MAKE SUSHI ROLLS: Pat out some rice. Lay a nori sheet on the mat, shiny-side down. Dip your hands in the vinegared water, then pat handfuls of rice on top in a 1cm thick layer, leaving the furthest edge from you clear.
- STEP 2
- Spread over some Japanese mayonnaise. Use a spoon to spread out a thin layer of mayonnaise down the middle of the rice.
- STEP 3
- Add the filling. Get your child to top the mayonnaise with a line of their favourite fillings – here we’ve used tuna and cucumber.
- STEP 4
- Roll it up. Lift the edge of the mat over the rice, applying a little pressure to keep everything in a tight roll.
- STEP 5
- Stick down the sides like a stamp. When you get to the edge without any rice, brush with a little water and continue to roll into a tight roll.
- STEP 6
- Wrap in cling film. Remove the mat and roll tightly in cling film before a grown-up cuts the sushi into thick slices, then unravel the cling film.
- STEP 7
- TO MAKE PRESSED SUSHI: Layer over some smoked salmon. Line a loaf tin with cling film, then place a thin layer of smoked salmon inside on top of the cling film.
- STEP 8
- Cover with rice and press down. Press about 3cm of rice over the fish, fold the cling film over and press down as much as you can, using another tin if you have one.
- STEP 9
- Tip it out like a sandcastle. Turn block of sushi onto a chopping board. Get a grown-up to cut into fingers, then remove the cling film.
- STEP 10
- TO MAKE SUSHI BALLS: Choose your topping. Get a small square of cling film and place a topping, like half a prawn or a small piece of smoked salmon, on it. Use damp hands to roll walnut-sized balls of rice and place on the topping.
- STEP 11
- Make into tight balls. Bring the corners of the cling film together and tighten into balls by twisting it up, then unwrap and serve.
Cooking notes
Scaling works best when you weigh ingredients rather than measure by volume — small differences in packing can compound at higher multipliers.
For volume-to-weight conversions of any ingredient — flour, sugar, butter, salts — use the ingredient converter. To translate the recipe's oven temperature between °C, °F and gas mark, see the temperature converter.
When you scale this recipe up or down, remember that cooking time does not scale linearly. A doubled cake takes longer, but not twice as long; a doubled soup takes roughly twice as long. The cooking-time guide gives sensible starting estimates by dish geometry.
Scaling notes
Scaling Sushi
Sushi is written for around four servings as it stands on this page — scaling it up for a party or down for a meal-for-one is the small math problem most home cooks face every week. Here's how this particular dish responds to scaling, what changes linearly, and what doesn't.
Seafood is the most scaling-sensitive protein because the overcooking window is narrow and the penalty is steep. Scale Sushi per piece if you can — cook three fillets in two batches rather than crowd the pan into one. Sauce-based seafood dishes scale linearly, but always taste before adding more salt: brininess from the seafood itself doesn't scale predictably.
Skip the math entirely — ScaleRecipe's scaler rewrites every ingredient line above with proper culinary fractions and smart unit promotion the moment you change the serving count. Open the scaler →
Beyond the recipe
Substitutions & make-ahead — Sushi
Two things home cooks ask about most when they're outside the recipe's exact assumptions: what swaps work for which ingredients, and how the dish behaves when you make it ahead. Both depend on what Sushi is doing structurally — here's the practical version.
Substitution ideas
Cooking wine
Broth + 1 tbsp white wine vinegar or lemon juice per cup reproduces the acidic backbone. White grape juice for white-wine recipes; pomegranate or red grape juice for red. Non-alcoholic wines work directly but flavour varies wildly between brands — taste before committing.
For weight-based swaps and arbitrary quantities, the ingredient density converter and the cup-to-grams chart cover most pantry staples.
Make-ahead and storage
Seafood is the worst-tempered category for make-ahead — texture and flavour both degrade quickly after cooking. Sushi should ideally be cooked the day it's served. If a make-ahead is unavoidable, prep components (the sauce, marinade, vegetables, garnishes) the day before and cook the fish or shellfish at the last moment. Cooked seafood develops a pronounced fishy off-flavour within 24 hours even when properly refrigerated.
Recipe video
Sushi
Keep cooking
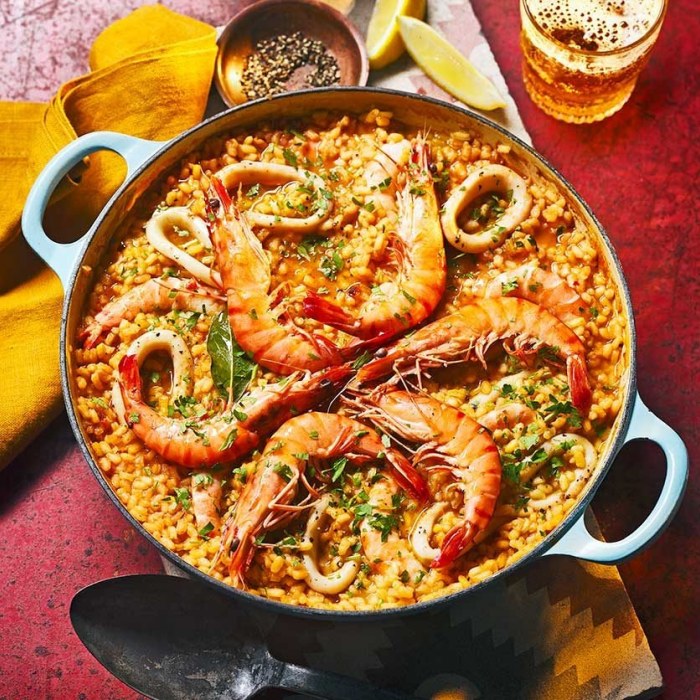
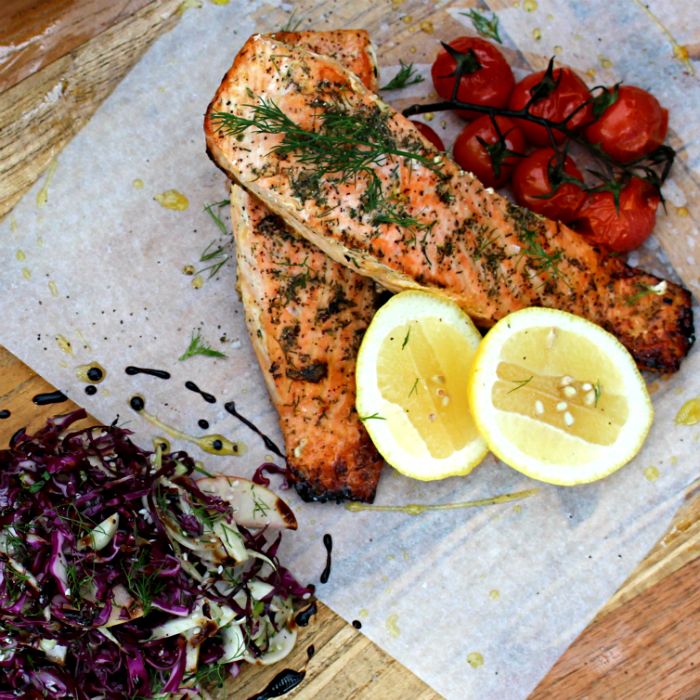
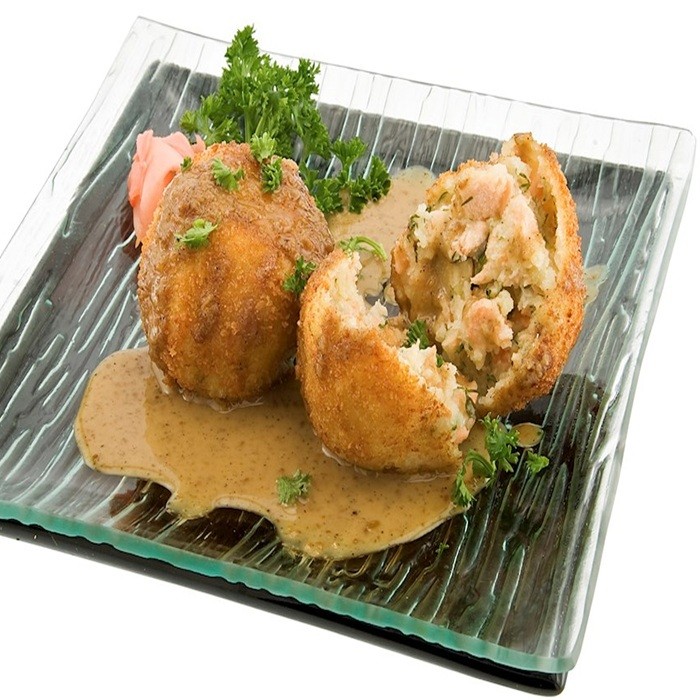
More seafood recipes

Cooking aids
Tools to use while you cook this.
Each opens in a new tab so the timer keeps running. The math is auditable on the guide page below each converter, with worked examples and where the numbers come from.
Volume
Tablespoons, teaspoons, cups, ml, fluid ounces — every culinary volume unit, with US/metric/imperial cups handled distinctly.
OpenWeight
Grams, ounces, pounds, kilograms — exact for any ingredient, plus the volume-to-weight conversions for ~40 pantry staples.
OpenTemperature
Fahrenheit, Celsius, gas mark — translate any oven temperature, with notes on conventional vs convection.
OpenCooking time
The cube-root rule for scaling up, the differences between meat / cake / soup geometry, and sensible starting estimates.
OpenPan size
9-inch round vs 8-inch square vs 13×9. The math is surface area, not diameter — and the converter shows you both.
OpenLength
Inches and centimetres — for when a recipe says “cut into 1-inch pieces” and your ruler is metric.
OpenIngredient density
A cup of flour weighs 120 g; a cup of honey weighs 340. The full table of ~40 staples, with sources.
OpenOpen in main scaler
Edit the recipe text, scale by serving count, and copy the result. Same parser as the in-page scaler, more room to work.
OpenFrom the journal
Original essays on the small details.
The why behind the technique — original writing on the ingredient and equipment choices that separate a good cook from a frustrated one.
Reading a recipe like a chef
The 30-or-so recipe terms that show up most often, decoded
Read essayMay 4, 2026
Cooking for one — scaling principles
The math, the practical realities, and the recipes designed for one from the start
Read essayMay 4, 2026
How long do leftovers actually last?
Beyond the USDA's 3–4 days: the variables that actually determine the safe window
Read essayMay 4, 2026
Go deeper
Where this recipe sits in the wider tradition.
Each guide below is a real essay on the cuisine or the category — pillars, staples, techniques worth learning — paired with a curated grid of recipes filed under it.
Cuisine guide · Japanese
Cooking the Japanese way
A cuisine of seasonality, restraint, and the dignity of a single ingredient.
Open the guideCategory guide · Seafood
How to cook in this category
The fastest cooking in any kitchen — and the most unforgiving to overcook.
Open the guideKeep exploring
Ready to cook?
Scale it to your table, then get into the kitchen.
Send this recipe to the main scaler for further editing, or jump straight into Cook Mode for a hands-free walk-through with timers running.